Getting Started
API Token
Section titled “API Token”If you don’t already have an account navigate to the app.prodia.com and click Sign Up.
Go to the API Dashboard to generate a token. You should see a token management screen similar to this:
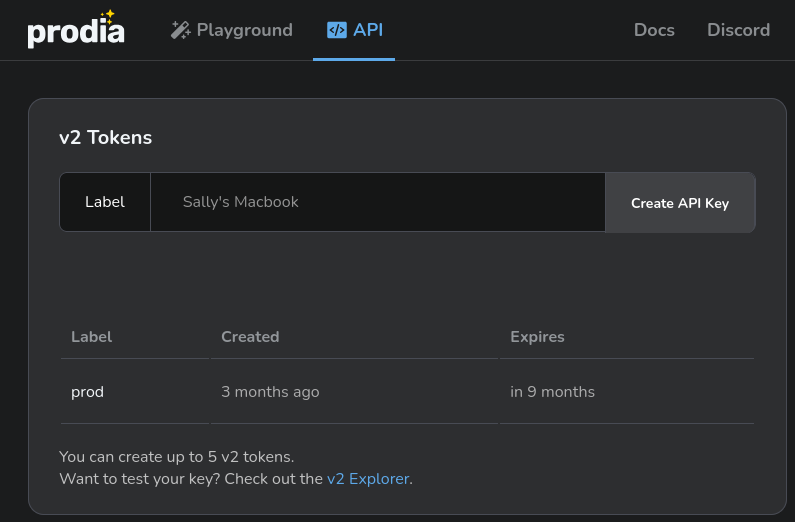
If the token management interface isn’t showing up please check that you have an active Pro subscription.
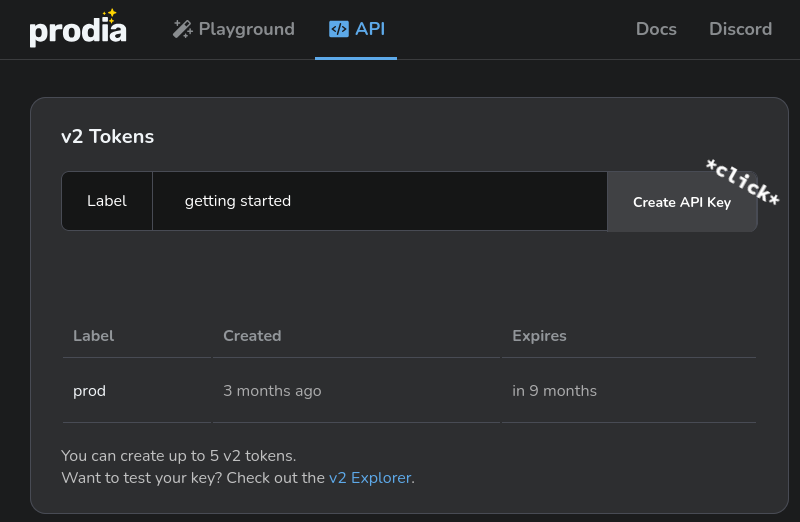
Give the token a meaningful label like getting started and click Create API
Key:
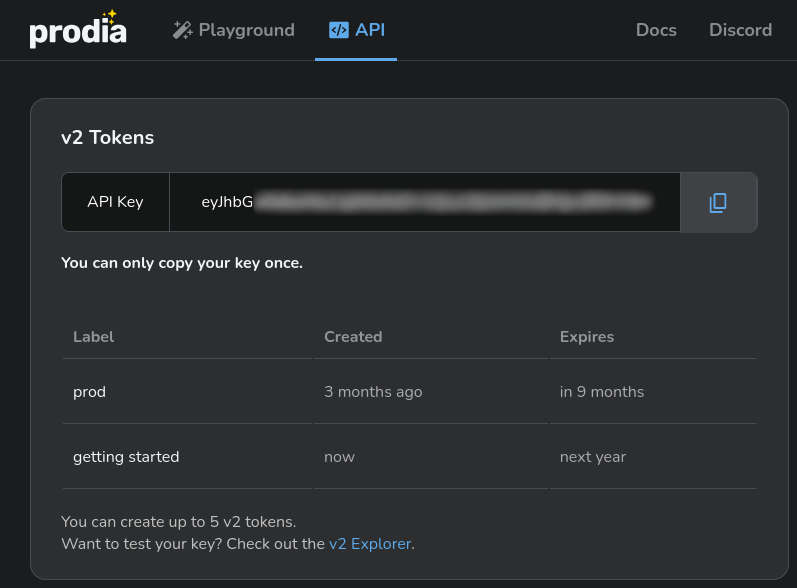
Next copy the key to a safe location. We will use this key for the remainder of the tutorial.
Now that we have an API key we are ready to set up the project.
Project Setup
Section titled “Project Setup”# Create a project directory.mkdir prodia-getting-startedcd prodia-getting-startedInstall Node (if not already installed):
brew install node# Close the current terminal and open a new one so that node is available.apt install node# Close the current terminal and open a new one so that node is available.winget install -e --id OpenJS.NodeJS.LTS# Close the current terminal and open a new one so that node is available.Create project skeleton:
# Requires node --version >= 18# Initialize the project with npm.npm init -y
# Install the prodia-js library.npm install prodia --save
Install Python (if not already installed):
brew install python# Close the current terminal and open a new one so that python is available.apt install python3 python3-venv python-is-python3# Close the current terminal and open a new one so that python is available.winget install -e --id Python.Python.3.12# Close the current terminal and open a new one so that python is available.# Requires python --version >= 3.12python -m venv venvsource venv/bin/activatepip install requestsInstall curl (if not already installed):
brew install curl# Close the current terminal and open a new one so that curl is available.apt install curl# Close the current terminal and open a new one so that curl is available.# NOTE: Windows 10 and up have curl installed by default and this can be# skipped.winget install -e --id cURL.cURL# Close the current terminal and open a new one so that curl is available.# Export your token so it can be used by the main code.export PRODIA_TOKEN=your-token-hereYour token is exported to an environment variable. If you close or switch your
shell you’ll need to run export PRODIA_TOKEN=your-token-here again.
Create a main file for your project:
const { createProdia } = require("prodia/v2");
const prodia = createProdia({    token: process.env.PRODIA_TOKEN // get it from environment});
Create the following main.py
from requests.adapters import HTTPAdapter, Retryimport osimport requestsimport sys

prodia_token = os.getenv('PRODIA_TOKEN')prodia_url = 'https://inference.prodia.com/v2/job'
session = requests.Session()retries = Retry(allowed_methods=None, status_forcelist=Retry.RETRY_AFTER_STATUS_CODES)session.mount('http://', HTTPAdapter(max_retries=retries))session.mount('https://', HTTPAdapter(max_retries=retries))session.headers.update({'Authorization': f"Bearer {prodia_token}"})set -euo pipefailYou’re now ready to make some API calls!
Text to Image
Section titled “Text to Image”Add the following to the main file:
const fs = require("node:fs/promises");const { createProdia } = require("prodia/v2");
const prodia = createProdia({    token: process.env.PRODIA_TOKEN // get it from environment});
(async () => {    // run a flux schnell generation    const job = await prodia.job({        type: "inference.flux-fast.schnell.txt2img.v2",        config: {            prompt: "puppies in a cloud, 4k",        }    });
    const image = await job.arrayBuffer();
await fs.writeFile("puppies.jpg", new Uint8Array(image));})();from requests.adapters import HTTPAdapter, Retryimport osimport requestsimport sys
prodia_token = os.getenv('PRODIA_TOKEN')prodia_url = 'https://inference.prodia.com/v2/job'
session = requests.Session()retries = Retry(allowed_methods=None, status_forcelist=Retry.RETRY_AFTER_STATUS_CODES)session.mount('http://', HTTPAdapter(max_retries=retries))session.headers.update({'Authorization': f"Bearer {prodia_token}"})
headers = { 'Accept': 'image/png',}
job = { 'type': 'inference.flux-fast.schnell.txt2img.v2', 'config': { 'prompt': 'puppies in a cloud, 4k', },}
res = session.post(prodia_url, headers=headers, json=job)print(f"Request ID: {res.headers['x-request-id']}")print(f"Status: {res.status_code}")
if res.status_code != 200: print(res.text) sys.exit(1)
with open('puppies.jpg', 'wb') as f: f.write(res.content)set -euo pipefail
job=$(cat <<EOF{ "type": "inference.flux-fast.schnell.txt2img.v2", "config": { "prompt": "puppies in a cloud, 4k" }}EOF)
curl -sSf \ -H "Authorization: Bearer $PRODIA_TOKEN" \ -H 'Accept: image/jpeg' \ --json "$job" \ --output puppies.jpg \ --retry 3 \ https://inference.prodia.com/v2/jobRun the main code:
node main.jspython main.pybash main.shOpen the output image puppies.jpg:
open puppies.jpgxdg-open puppies.jpgstart puppies.jpgAnd you’ll see some cute puppies like these:

Congratulations on finishing your first project using Prodia!